I'll install Stable Diffusion web UI on my M2 Mac and get it up and running.
Introduction
I wanted to run Stable Diffusion on my M2 Mac.
I had been using StabilityAI's Hugging Face Space to play around with Stable Diffusion, but it was recently shut down.
After looking into ways to run Stable Diffusion locally, it seems that using Stable Diffusion web UI is the easiest approach.
In this article, I'll walk through the steps to get Stable Diffusion web UI running on an M2 Mac.
# Development Environment
MacBook Air
Chip: Apple M2
Memory: 16GB
Note: This article was translated from my original post.
Running Stable Diffusion web UI on M2 Mac
I'll basically follow the installation instructions on the official Wiki.
1. Installing Required Libraries
First, install the libraries using Homebrew.
※ If you don't have Homebrew installed yet, follow these instructions to install it.
Run the following command in your terminal to install the required libraries:
brew install cmake protobuf rust python@3.10 git wget
If Rosetta 2 is running, you might see an error like this:
Error: Cannot install under Rosetta 2 in ARM default prefix (/opt/homebrew)!
To rerun under ARM use:
    arch -arm64 brew install ...
To install under x86_64, install Homebrew into /usr/local.
In that case, add arch -arm64 at the beginning of the command and run it again:
arch -arm64 brew install cmake protobuf rust python@3.10 git wget
Once the installation completes successfully, you're done with this step.
2. Clone the Stable Diffusion web UI Source Code
Next, run the following command to clone the Stable Diffusion web UI repository locally:
git clone https://github.com/AUTOMATIC1111/stable-diffusion-webui
3. Place the Stable Diffusion Model
Place the Stable Diffusion model in the stable-diffusion-webui/models/Stable-diffusion directory of the cloned repository.
For this tutorial, I'll use the stabilityai/stable-diffusion-xl-base-1.0 model.
Visit the page below and download the model using the download button:
sd_xl_base_1.0_0.9vae.safetensors · stabilityai/stable-diffusion-xl-base-1.0 at main
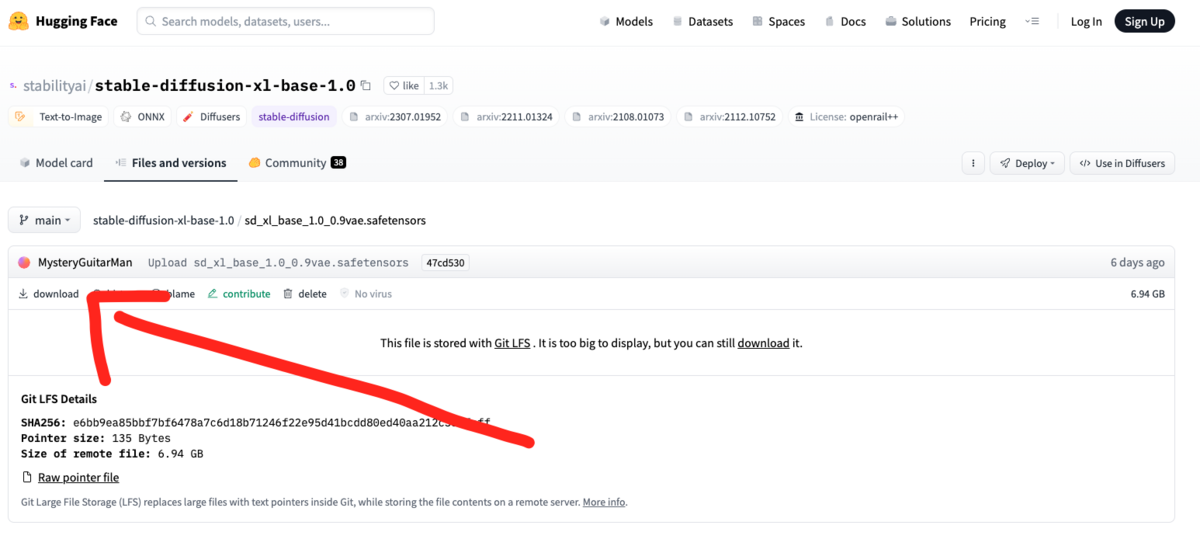
Once downloaded, place the model in the stable-diffusion-webui/models/Stable-diffusion directory of the repository you cloned earlier.
You can manually move the file using Finder, or use a command like this:
mv ~/Downloads/sd_xl_base_1.0_0.9vae.safetensors ./stable-diffusion-webui/models/Stable-diffusion
4. Launch Stable Diffusion web UI
You're all set!
Run the shell script webui.sh from the cloned source code to launch Stable Diffusion web UI:
cd stable-diffusion-webui
./webui.sh  # Launch Stable Diffusion web UI
When you see the terminal enter a waiting state like below, the launch is complete:
Model loaded in 56.8s (calculate hash: 4.0s, load weights from disk: 0.6s, create model: 4.3s, apply weights to model: 21.9s, apply half(): 17.9s, move model to device: 3.1s, load textual inversion embeddings: 0.4s, calculate empty prompt: 4.5s).
Access http://127.0.0.1:7860/ in your browser to use Stable Diffusion web UI.
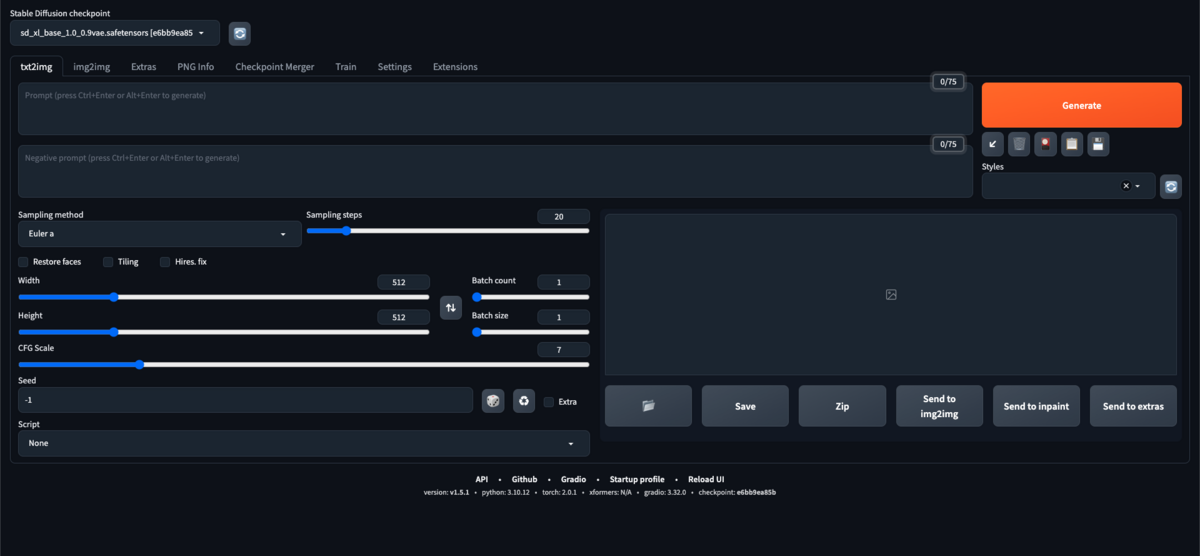
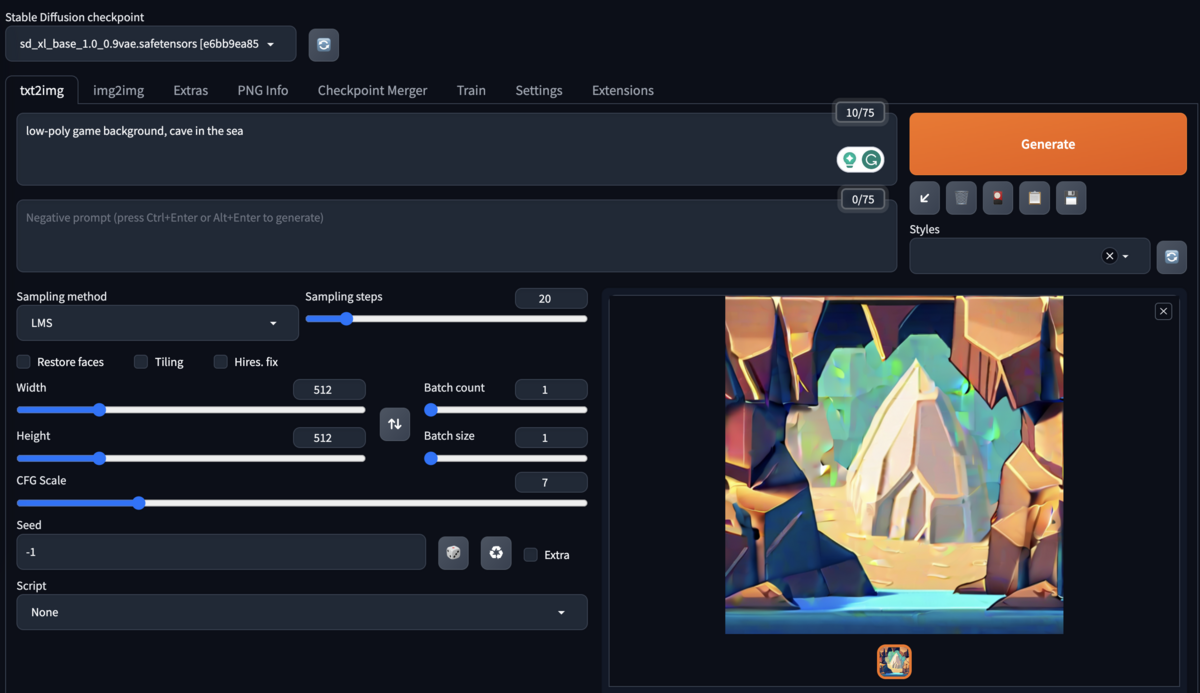
Try entering a prompt and clicking the "Generate" button—an image should be successfully generated.
Conclusion
I've summarized the steps for installing and running Stable Diffusion web UI on an M2 Mac.
There are tons of parameters you can tweak beyond just the prompt, so there's plenty to explore and play with.
I hope this is helpful to someone!
[Related Articles]
References
- GitHub - AUTOMATIC1111/stable-diffusion-webui: Stable Diffusion web UI
- Installation on Apple Silicon · AUTOMATIC1111/stable-diffusion-webui Wiki · GitHub
- https://huggingface.co/spaces/stabilityai/stable-diffusion/tree/main
- Features · AUTOMATIC1111/stable-diffusion-webui Wiki · GitHub
- sd_xl_base_1.0_0.9vae.safetensors · stabilityai/stable-diffusion-xl-base-1.0 at main