A memo on how to transform or move a selection across multiple layers in Aseprite.
Introduction
I wanted to transform or move a selection that spans multiple layers in Aseprite, but there were a few small points I needed to keep in mind, so I wrote this memo.
This also works the same way when you want to apply the operation across multiple frames.
Note: This article was translated from my original post.
Transforming and Moving a Selection Across Multiple Layers
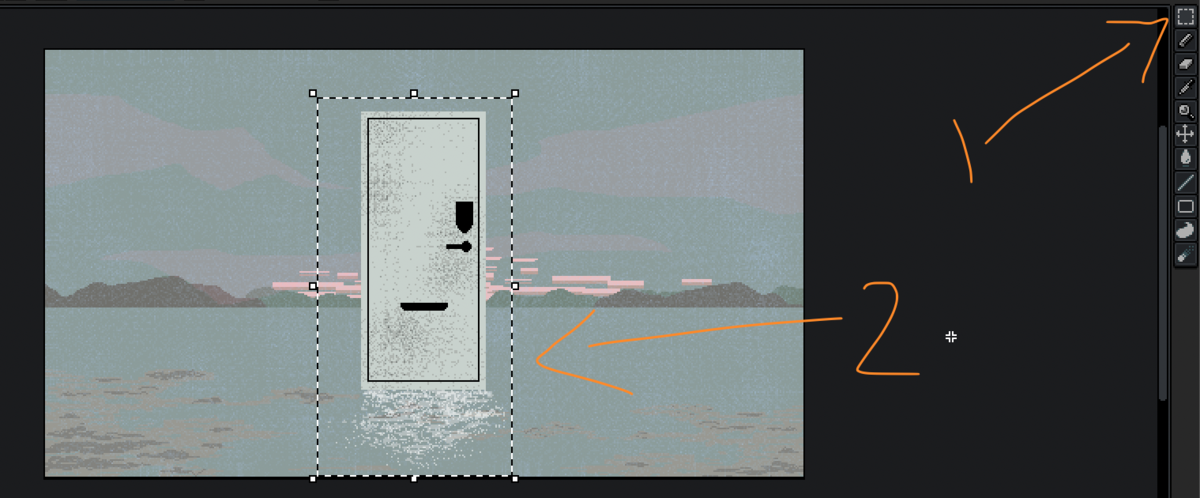
1. Select the area with a selection tool
First, select the target area with a selection tool. There’s nothing special to note in this step.
Select the tool from the toolbar and draw a selection around the target.
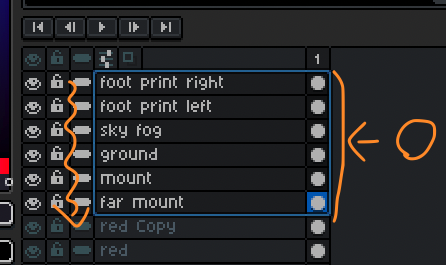
2. Select the target layers
Next, select the layers you want to transform or move.
There are some things to watch out for when selecting multiple layers, so check the related article below if needed.
3. Transform or move the selection
Transform or move the selection.
At this point, only the active layer will update in real time, even if you selected multiple layers.
This behavior is also noted in the official documentation:
Note: When transforming multiple layers, frames, or cels using the selections handles, the transformation will be shown in real time only for the active cel.

4. Deselect
Click outside the selection to deselect after transforming or moving.
When you deselect, the transformation or movement is applied to all selected layers.

Again, the key point is that nothing is applied to the other layers until you deselect.
Conclusion
This was a memo on how to transform or move a selection across multiple layers in Aseprite.
I didn’t realize that changes wouldn’t apply to each layer until deselection, so I was confused for a bit.
I hope this helps someone.
[Related Articles]